Getting Started with Screen Recording on Mac
Screen recording is an essential feature for many users today, whether you are an educator, a software developer, or just someone who wants to share your gaming adventures. Mac computers come equipped with a built-in screen recording tool that makes capturing your screen simple and effective. In this guide, we will thoroughly explore the fundamentals of screen recording on a Mac, helping you understand all aspects from system requirements to the best settings for optimal quality. To learn more about this feature, you can refer to resources on how to screen record on mac and get started right away.
Understanding Screen Recording Features
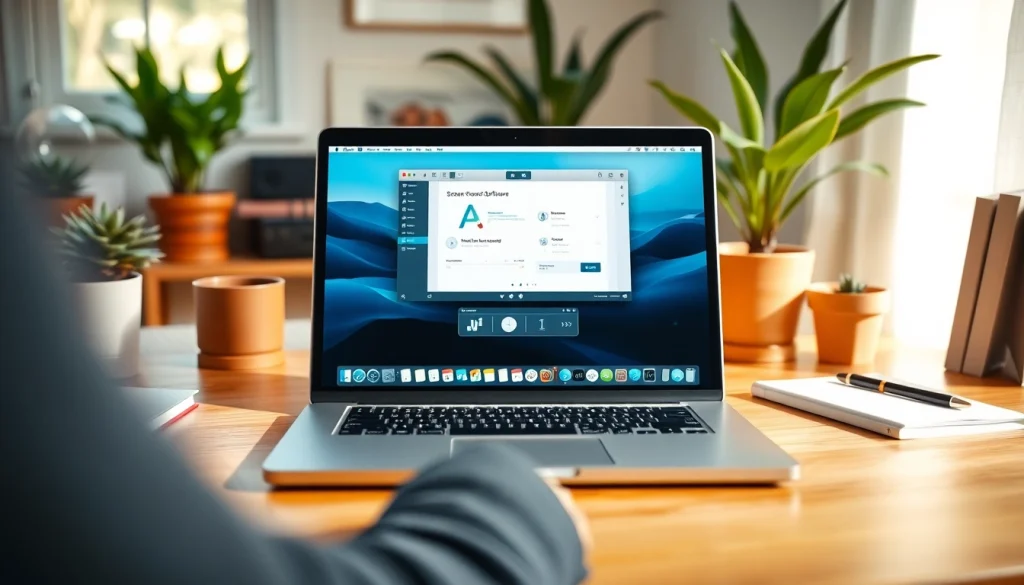
Screen recording on a Mac allows users to capture everything happening on their screen, including applications, browser tabs, and even webcams. The built-in screen recording feature is part of the QuickTime Player application, which offers essential tools needed for various screen recording tasks. It also allows the user to record audio, providing a complete viewing experience. Understanding these features is critical to utilizing this function effectively, as it offers settings for both full-screen recording and selective area recording.
System Requirements for Screen Recording
Before diving into screen recording, it is important to consider the system requirements. Most Mac computers running macOS Mojave (10.14) or later come with the necessary tools for screen recording. To ensure a smooth recording experience, make sure your Mac has the following:
- macOS version 10.14 or newer
- At least 2GB of RAM (4GB recommended for better performance)
- Sufficient disk space to store recordings
Having these requirements met allows you to utilize the built-in screen recording features effectively, preventing lags or system crashes during recordings.
Choosing the Right Settings for Your Needs
Selecting the right settings for screen recording depends on your objectives. Whether you require high-resolution recordings for tutorials or lower quality for quick sharing, macOS provides several options:
- Resolution: Choose between 720p, 1080p, or 4K resolutions based on your needs.
- Audio Source: You can choose to capture audio from your microphone or the system audio, depending on what you want to share.
- Recording Area: Decide if you want to record the entire screen or just a specific window or portion of your screen.
Careful selection of these settings will enhance the quality of your final output, making your screen recording more effective in conveying information.
How to Screen Record on Mac: Step-by-Step Instructions
Using the Built-in Screen Recording Tool
The built-in screen recording tool on macOS is user-friendly and accessible. Follow these steps to initiate a screen recording:
- Open the QuickTime Player application. You can find it in Applications or by using the Spotlight feature.
- From the menu bar, navigate to File and select New Screen Recording.
- A recording window will appear. Here, you can adjust settings such as audio input.
- To start recording, click the red Record button. You will have the option to click anywhere on the screen to record the entire display or drag to select a specific area.
- Once you have captured the desired content, click the stop button in the menu bar or press Command + Control + Esc to stop recording.
Your recording will automatically open in QuickTime, where you can review it before saving.
Adjusting Audio and Video Settings
Adjusting your audio and video settings ensures your recorded screen captures high-quality content. Within the screen recording window, you will see options for:
- Microphone: Select the appropriate audio input device. Ensure the volume is adjusted to your preference to avoid distortion.
- Show Mouse Clicks: Enabling this option will visually highlight mouse clicks, helpful for tutorials or presentations.
- Resolution: Decide on the resolution based on your target audience. Higher resolutions provide clearer videos suitable for detailed presentations.
Optimizing these settings can significantly improve the clarity and impact of your screen recordings.
Saving and Exporting Your Screen Recordings
After you’ve completed your screen recording, it’s essential to save and export your files in the right format. Follow these steps:
- Once your recording has finished, click File in the menu bar.
- Select Save. You’ll be prompted to choose a file name and location.
- Consider exporting the video in different formats if you plan to share it across various platforms. QuickTime supports formats like .mov.
- Choose Export As for options such as 1080p, 720p, or 480p resolution depending on your needs.
By saving your recordings thoughtfully, you can protect important content and ensure easy access later on.
Tips for Optimal Screen Recording Quality
Best Practices for Screen Recording
To ensure your screen recordings are as effective as possible, consider following these best practices:
- Plan Your Recording: Outline what you intend to showcase to maintain clarity and focus.
- Minimize Background Noise: Reduce interruptions by recording in a quiet environment.
- Practice: Do a trial run to fine-tune your delivery and verify that your audio and visual settings work properly.
- Keep the Desktop Clean: Clutter can distract viewers; close unnecessary applications and hide personal files.
These steps will ensure that your content is conveyed professionally and efficiently, regardless of its purpose.
Common Issues and Troubleshooting Tips
Even with the best planning, issues can arise. Here are some common problems users face along with troubleshooting tips:
- Recording Doesn’t Start: Ensure your microphone and camera permissions are enabled in system preferences. Restart QuickTime if necessary.
- Low Video Quality: Check your resolution settings. Choose a higher resolution for better output. Make sure your Mac isn’t overloaded with background tasks.
- Audio Not Capturing: Confirm you have the correct audio input device selected and that it’s functioning properly.
Being prepared to address these common challenges will allow you to handle screen recording with greater confidence and ease.
Recommended Software Alternatives
While the built-in screen recording tool is robust, several alternative software options can enhance your recording experience:
- OBS Studio: Popular among gamers and streamers, this open-source tool offers advanced features for custom setups and live streaming.
- Camtasia: Known for its intuitive interface, Camtasia provides powerful editing capabilities post-recording.
- Snagit: Ideal for quick screen captures, Snagit allows for easy sharing and includes basic editing features.
Choosing the right software depends on your specific needs, such as whether you require advanced editing features or simply want to capture and share your screen quickly.
Editing Your Screen Recordings on Mac
Basic Editing Techniques
Editing is an essential step after screen recording. The editing process allows for refinement and enhancement, ensuring your end product meets your expectations. Here are some basic editing techniques you can follow:
- Trimming: Remove unwanted sections at the beginning or end of your recording to create a cleaner final product. QuickTime Player allows easy trimming through the Edit menu.
- Adding Annotations: Consider using on-screen text, arrows, or highlighting to emphasize crucial points in your recording.
- Audio Editing: Adjust sound levels and incorporate background music or voiceovers to enhance the viewer’s experience.
Editing can significantly boost the clarity and appeal of your videos, making them more engaging for viewers.
Using Built-in macOS Editing Tools
macOS provides various editing tools that can be leveraged for screen recordings:
- QuickTime Player: Apart from recording, QuickTime allows for basic trimming and merging of videos. Simply open the video file, click on Edit, and select your editing options.
- Photos App: You can also use the Photos app to edit videos. Import your recorded video, click on Edit, and utilize cropping, filters, and other features.
Leverage these built-in tools to improve your screen recordings without requiring additional software, making the editing process accessible and straightforward.
Exporting Your Edited Recordings
After editing your recordings, exporting them in the desired format is crucial for sharing. Follow these steps:
- Select File in the editing application of your choice once you are done editing.
- Choose Export or Save As from the drop-down menu.
- Pick your preferred file format and resolution that best suits where you intend to share your video.
- Find the location you want to save it, click Save, and your edited video will be ready for sharing.
Proper exporting ensures your enhanced screen recordings maintain quality across various platforms.
Advanced Screen Recording Techniques
Recording Streaming Content Safely and Legally
When it comes to screen recording, ethical considerations are paramount. If you’re recording streaming content, ensure that you are complying with copyright laws and regulations. Here are some tips:
- Check content policies: Understand the platform’s terms of use before recording any content.
- Seek permission: Always seek permission from content creators when applicable, especially for professional and educational uses.
- Use recordings for personal reference: If legal constraints exist, use recordings solely for personal use to avoid potential legal issues.
Being aware of these guidelines not only protects you legally but helps in fostering respect within the content creation community.
Utilizing Screen Recording for Tutorials and Presentations
Screen recording is particularly valuable for creating tutorials and presentations. Here’s how to maximize its effectiveness:
- Structured Content: Clearly outline your tutorial steps before recording to make it easy for viewers to follow along.
- Engage Your Audience: Use a conversational tone and encourage viewers to follow along during your recording.
- Include Examples: Utilize real-life examples to illustrate complex concepts, helping to ground your teaching material.
By employing these techniques, you can create impactful tutorials that educate and inspire your audience.
Analyzing Recording Performance Metrics
Once your recordings are shared, it’s important to analyze their performance. Metrics to consider include:
- Viewer Engagement: Analyze how long viewers are watching your recordings, which sections they may skip, and the drop-off rates.
- Feedback: Encourage viewers to provide feedback, enabling you to improve future recordings.
- Sharing Analytics: If applicable, utilize platform analytics to track how many views, shares, and interactions your recording receives.
Translating these metrics into actionable insights can significantly elevate the impact of your future recordings.
You may also like
-
Maximizing Efficiency with a Starlink Mini 12v Power Supply: A Comprehensive Guide
-
Maximizing Performance and Reliability with Effective WordPress Hosting Solutions
-
Understanding the Functionality and Benefits of an AI Detector Tool
-
Unveiling Laptops World Kenya: Your Guide to the Best Laptops in Kenya
-
Essential Computer Help: Tips and Solutions for Every User